一、概述
RS-LiDAR-16是速腾聚创推出的16线激光雷达,是一颗非常小型的激光雷达,主要面向无人驾驶汽车环境感知、机器人环境感知、无人机测绘等领域。RS16采用混合固态激光雷达方式,集合了16 个激光收发组件,最大探测距离150米,测量精度+/- 2cm以内。通过激光扫描反射提供三维空间点云数据及物体反射率,为定位、导航、避障等提供有力的保障。
主要参数:
- 360°水平视场角;
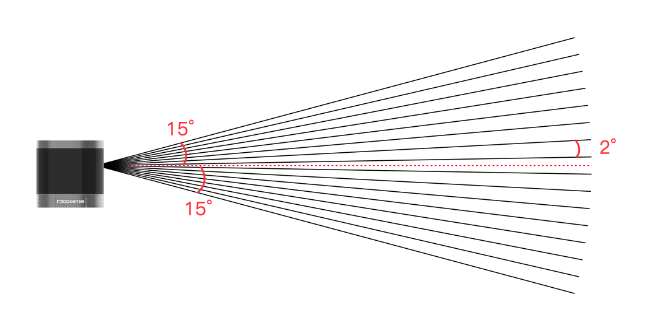
- 30°垂直视场角,16线平均分布;
- 150米探测距离;
- 帧率5Hz/10Hz/20Hz;
- 出点数288,000pts/s(单回波) 576,000pts/s(双回波);
- 以太网UDP通信;
- 工作电压9V – 32V,日常12V即可;
我们这里主要是使用它代替单线雷达,用于室外机器人建图和导航,以应对地面不平等相对室内更复杂的场景。
二、准备工作
1. 雷达连线
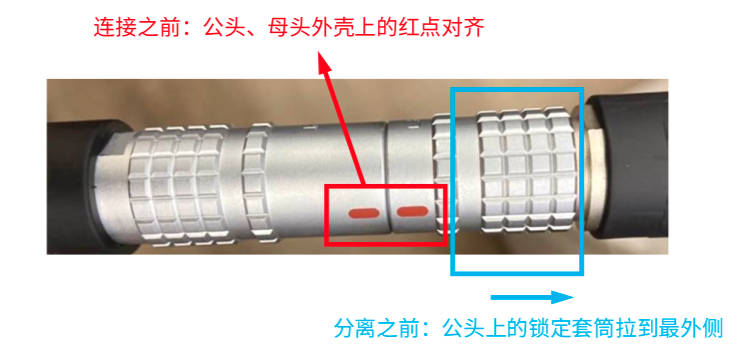
连接Lemo连接器:
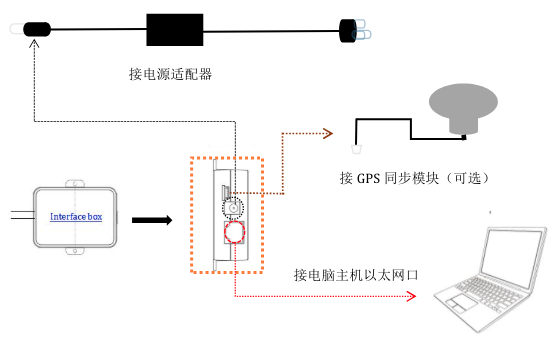
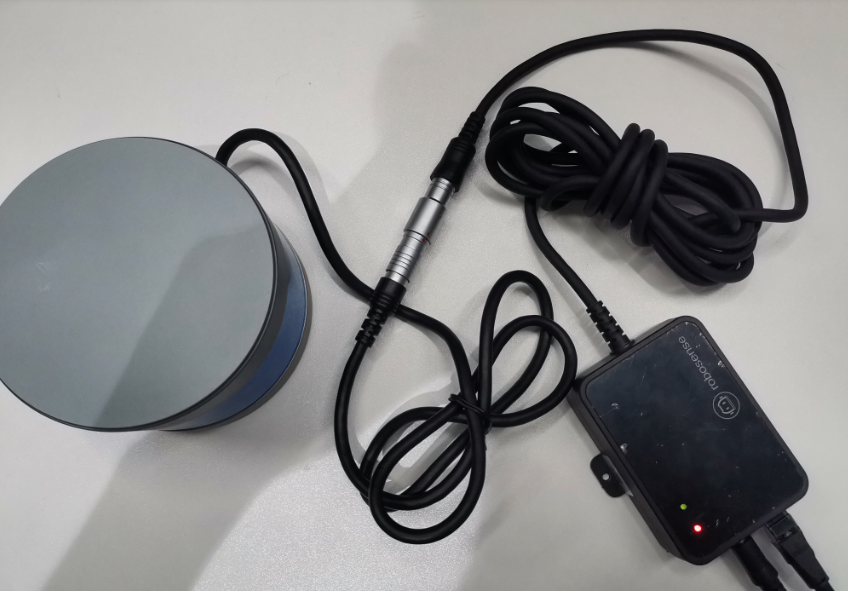
物理连线:
2. 网络配置
RS16雷达的出厂网络配置默认雷达自身ip为192.168.1.200,电脑ip为192.168.1.102。故为了成功连接雷达,需修改本机的网络配置,即静态Ip地址设置为192.168.1.102,网关为192.168.1.1。
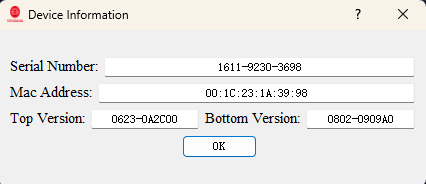
由于我是从网上买的旧雷达,雷达IP卖家也不知道被改成什么鬼了,所以这里先插上lidar的网线,用tcpdump抓包看下,可以看到lidar在发送arp,寻找10.7.5.10,而它自己是10.7.5.100:
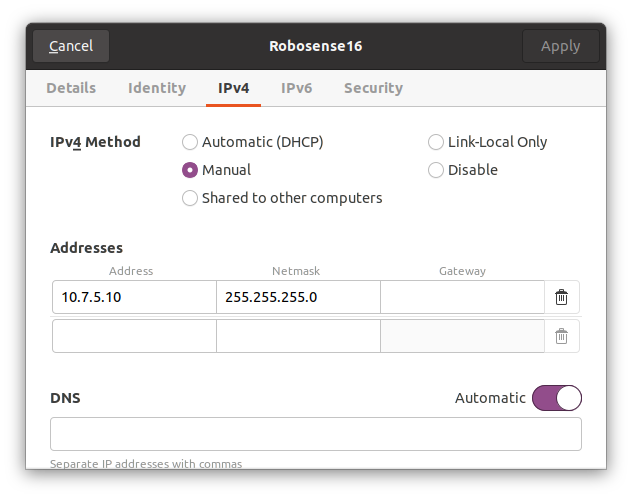
在Network-Wired里新建一个名为RoboSense16的有线网络,IPv4手动设置为10.7.5.10,保存后点击连接:
查看ip配置是否生效,并ping 10.7.5.100雷达ip看能否ping通:
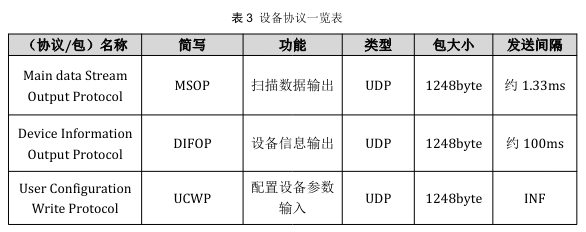
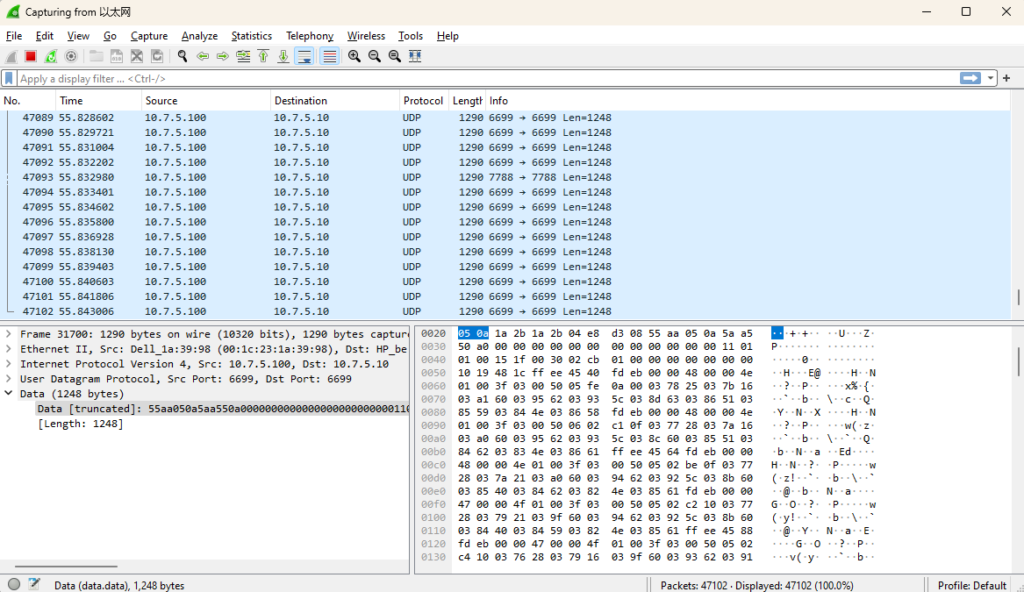
能ping通后,再tcpdump抓包确认下这个旧lidar的端口有没有被改过,从下图可以看到6699/7788默认端口在发送1248长度的数据:
三、雷达调试
1. RS Lidar SDK与ROS包
# 配置ros源
sudo sh -c '. /etc/lsb-release && echo "deb [arch=$(dpkg --print-architecture)] http://mirrors.ustc.edu.cn/ros/ubuntu/ $DISTRIB_CODENAME main" > /etc/apt/sources.list.d/ros-latest.list'
# 添加公钥
sudo apt-key adv --keyserver 'hkp://keyserver.ubuntu.com:80' --recv-key C1CF6E31E6BADE8868B172B4F42ED6FBAB17C654
# 安装ros桌面版
sudo apt update
sudo apt install -y ros-noetic-desktop-full
# 设置环境
echo "source /opt/ros/noetic/setup.bash" >> ~/.bashrc
source ~/.bashrc

# 安装依赖
sudo apt install -y libpcap-dev libyaml-cpp-dev python3-catkin-tools libcanberra-gtk-module libpcl-conversions-dev
# 准备源码
cd ~/catkin_ws/src/
# git clone https://github.com/RoboSense-LiDAR/rslidar_sdk.git
git clone https://github.com/yanjingang/rslidar_sdk.git
# 更新驱动依赖
cd rslidar_sdk
git submodule update --init --recursive

 # 编译
cd ~/catkin_ws
catkin_make

# source
echo "source ~/catkin_ws/devel/setup.bash" >> ~/.bashrc
source ~/.bashrc
echo $ROS_PACKAGE_PATH
2. 修改ROS配置
$ vim config/config.yaml
common:
  msg_source: 1                                         #0: not use Lidar
                                                        #1: packet message comes from online Lidar
                                                        #2: packet message comes from ROS or ROS2
                                                        #3: packet message comes from Pcap file
                                                        #4: packet message comes from Protobuf-UDP
                                                        #5: point cloud comes from Protobuf-UDP
  send_packet_ros: true                                #true: Send packets through ROS or ROS2(Used to record packet)
  send_point_cloud_ros: true                            #true: Send point cloud through ROS or ROS2
  send_packet_proto: false                              #true: Send packets through Protobuf-UDP
  send_point_cloud_proto: false                         #true: Send point cloud through Protobuf-UDP
  pcap_path: /home/work/lidar.pcap                 #The path of pcap file

lidar:
  - driver:
      lidar_type: RS16            #LiDAR type - RS16, RS32, RSBP, RS128, RS80, RSM1, RSHELIOS
      frame_id: /rslidar           #Frame id of message
      msop_port: 6699              #Msop port of lidar
      difop_port: 7788             #Difop port of lidar
      start_angle: 0               #Start angle of point cloud
      end_angle: 360               #End angle of point cloud
      min_distance: 0.2            #Minimum distance of point cloud
      max_distance: 200            #Maximum distance of point cloud
      use_lidar_clock: false       #True--Use the lidar clock as the message timestamp
                                   #False-- Use the system clock as the timestamp
    ros:
      ros_recv_packet_topic: /rslidar_packets          #Topic used to receive lidar packets from ROS
      ros_send_packet_topic: /rslidar_packets          #Topic used to send lidar packets through ROS
      ros_send_point_cloud_topic: /rslidar_points      #Topic used to send point cloud through ROS
    proto:
      point_cloud_recv_port: 60021                     #Port number used for receiving point cloud
      point_cloud_send_port: 60021                     #Port number which the point cloud will be send to
      msop_recv_port: 60022                            #Port number used for receiving lidar msop packets
      msop_send_port: 60022                            #Port number which the msop packets will be send to
      difop_recv_port: 60023                           #Port number used for receiving lidar difop packets
      difop_send_port: 60023                           #Port number which the difop packets will be send to
      point_cloud_send_ip: 127.0.0.1                   #Ip address which the point cloud will be send to
      packet_send_ip: 127.0.0.1                        #Ip address which the lidar packets will be send to
3. 重新编译并查看点云
# 手动编译(需要手动启动roscore、rviz才能看到可视化点云结果)
 cd ~/catkin_ws/src/rslidar_sdk
mkdir build && cd build
cmake .. && make -j4
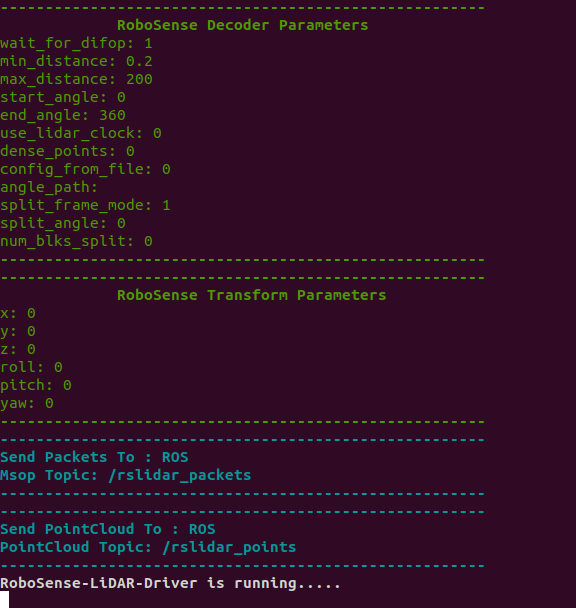
./rslidar_sdk_node

# ros1编译(一键启动和查看)
cd ~/catkin_ws
catkin_make
source ~/catkin_ws/devel/setup.bash
roslaunch rslidar_sdk start.launch

# ros2编译(一键启动和查看)
cd ~/ros2_ws/src
git clone https://github.com/RoboSense-LiDAR/rslidar_msg.git
git clone -b ros2 https://github.com/RoboSense-LiDAR/rslidar_sdk.git
colcon build
source ~/ros2_ws/install/setup.bash
ros2 launch rslidar_sdk start.py
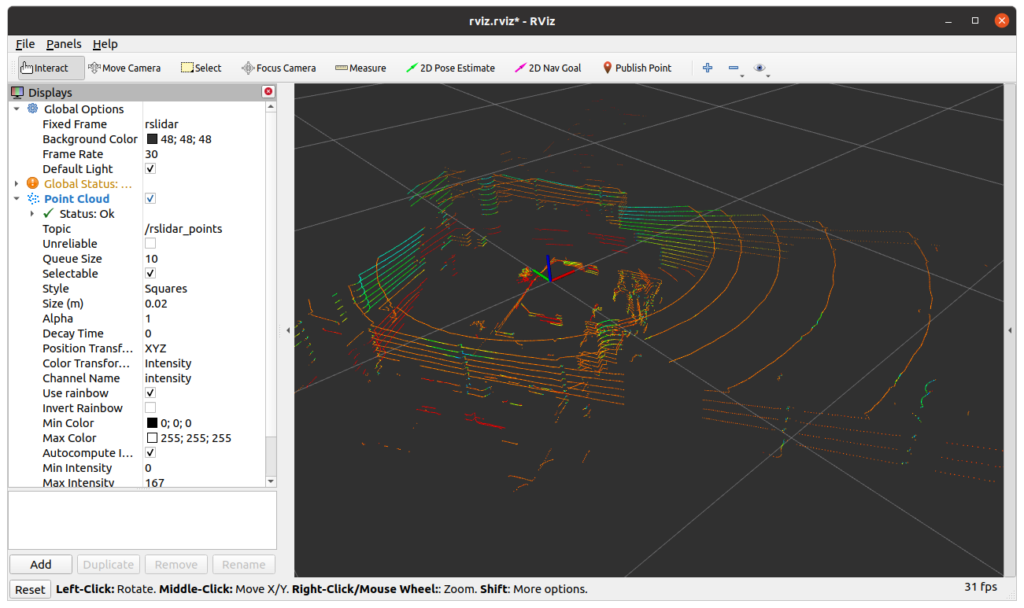
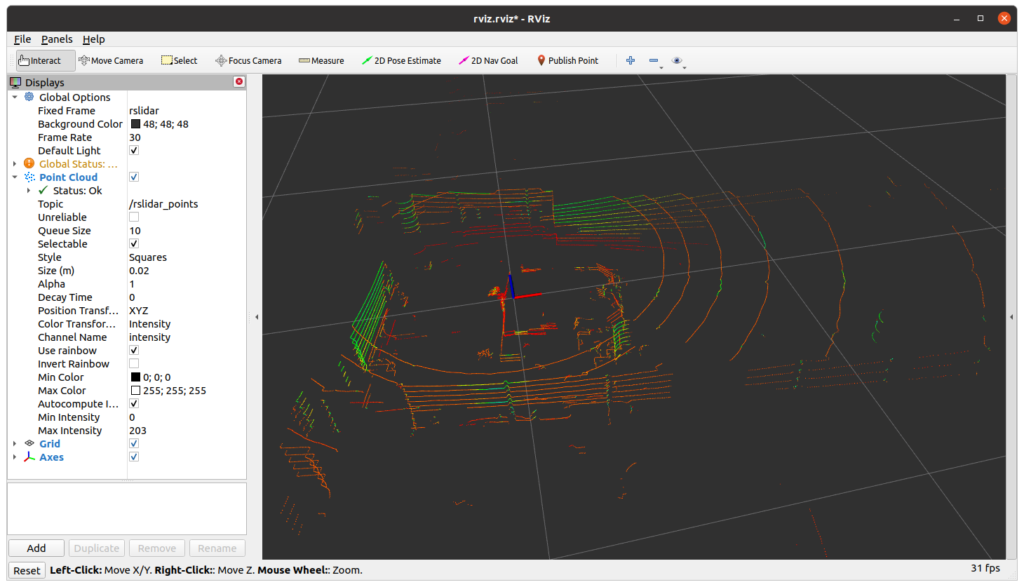
RS雷达点云:
*注:如果tcpdump/wireshark都可以抓到6699/7788的包,但是rviz或者rsview都看不到点云,可能是被防火墙拦截了(wireshark工作在防火墙之前),可以尝试关闭防火墙或打开特定端口。
# disable ufw(不起作用)
sudo ufw disable

# stop iptables(不起作用)
sudo service iptables stop

# disable firewalld(关闭后,admin prohibited filter报警消失)
sudo systemctl disable --now firewalld
四、雷达IP修改
为了跟机器人端的无线网络的网段隔离,这里说明下如何修改RS16的IP配置。
1. 安装工具
下载官方最新的RSView可视化工具:RSView_ubuntu20_V4.3.11.zip
顺便装个Wireshark用来代替tcpdump抓包:Download Wireshark
2. Wireshark抓包确认当前IP
3. RSView连接雷达
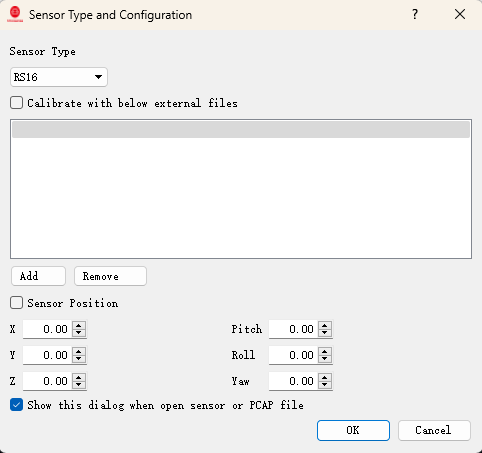
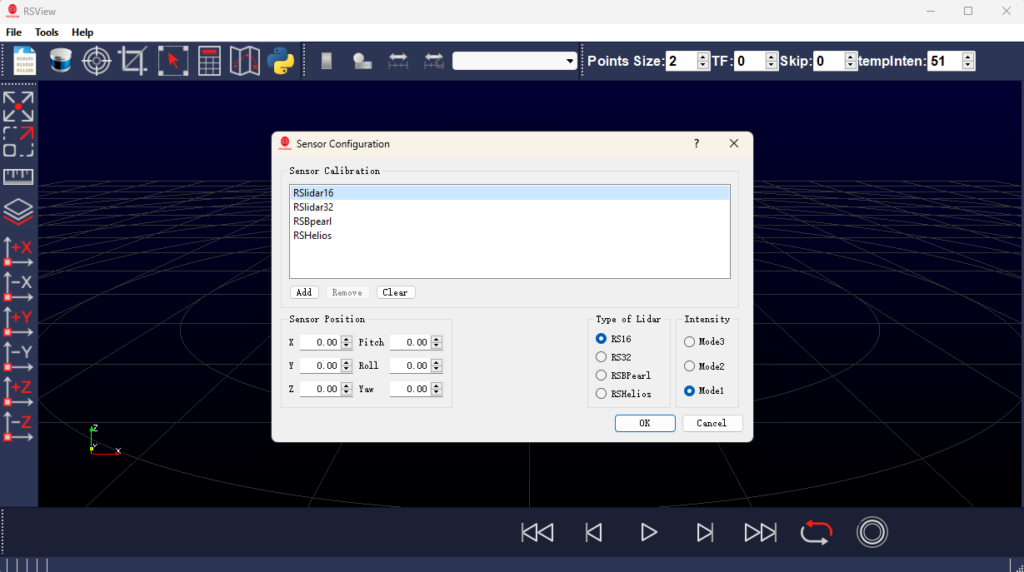
选择雷达型号为RS16:
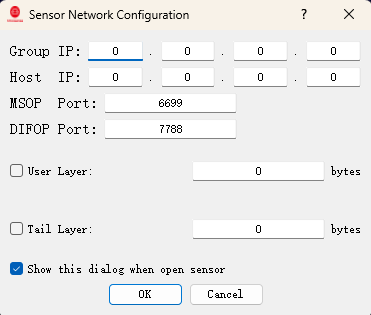
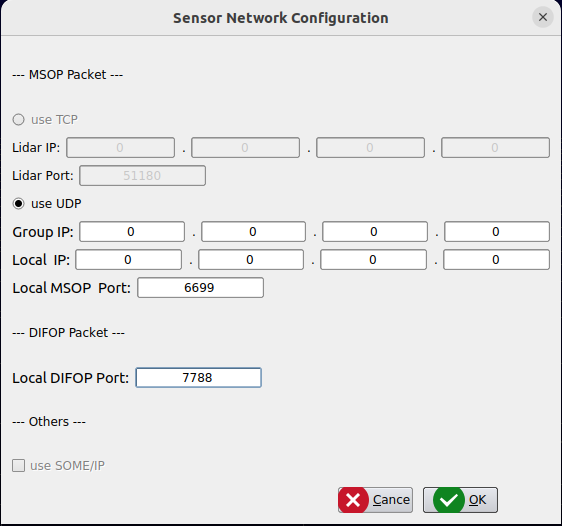
配置端口:(连好线并在正常输出点云的在线雷达,不需要填IP即可连接)
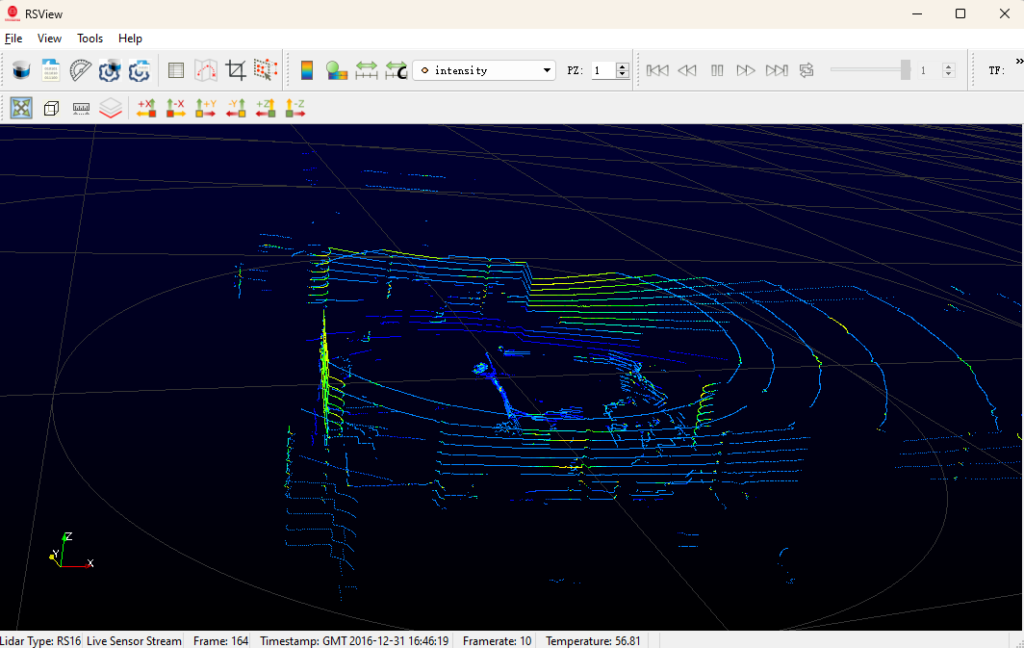
查看点云:
修改雷达信息:
这里发现最新的RSView V4.3版本在Lidar Information里不能修改RS16的IP了…
4. RSView修改雷达IP
不怕,经过寻寻觅觅,找到了一个RSView V3.1的老版本:RSview-V3.1老版本(新的不一定好用)
选择雷达型号为RS16:
配置端口:(连好线并在正常输出点云的在线雷达,不需要填IP即可连接)
查看点云:
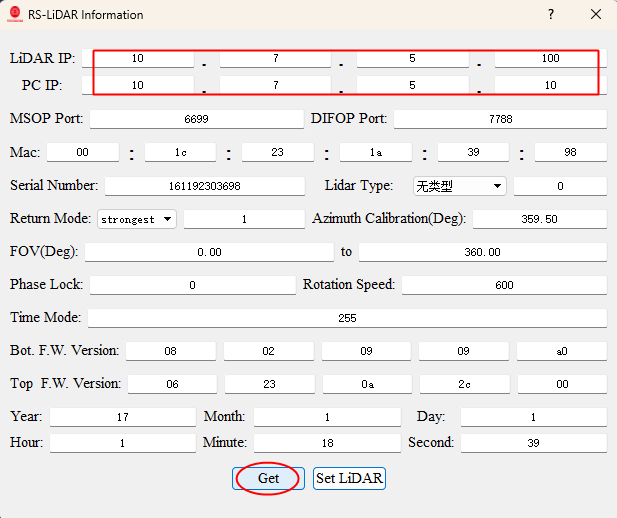
在Lidar Information里Get当前配置信息:
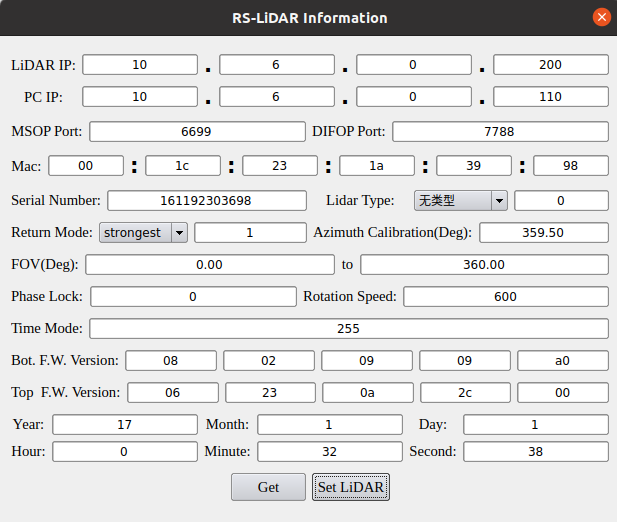
修改Lidar及PC的IP,点击Set Lidar,大概需要10s左右:(改成10.6.0网段了)
tcpdump或Wireshark抓包确认IP修改生效了:(10.6.0.200的lidar,在发ARP寻找10.6.0.110的PC)
5. 确认新IP可输出点云
修改PC的IP为10.6.0.110:
重启RSView或ROS查看RS16的点云:
五、雷达时钟同步
可通过UCWP用户配置协议手工设置时间(微妙粒度),也可以使用外接GPS模组来自动同步时间。
待更新
yan 24.3.21
参考:

